Astral Send - Help:
Watch the Video
In the search bar, enter “Astral Send Document Batches” and select it from the list:

Figure 1 | Business Central Search - Astral Send Document Batches
The “Astral Send Document Batches” list page will appear. Click on “New” in the ribbon:

Figure 2 | Astral Send Document Batches List Page
On the Astral Send Document Batch card, under the General FastTab, a No. (1) for the batch will be assigned automatically, as setup in the No. Series. Enter a description for your batch in the Description field (2) and select a report (4) from the Report Configuration list in the Report Config No. field, by clicking on the downward arrow (3):
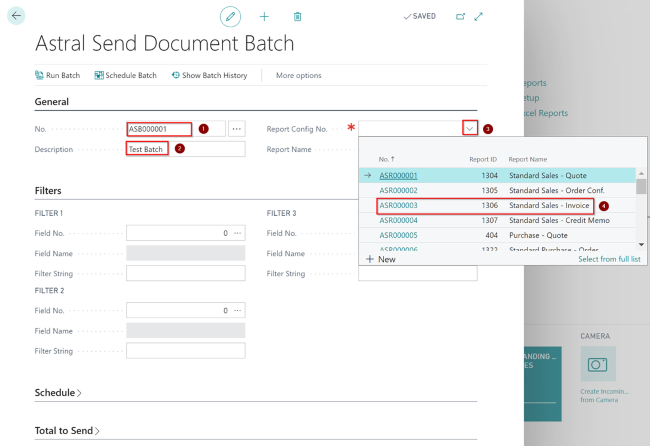
Figure 3 | Astral Send Document Batch Card
In the Filters FastTab, select the filters to apply to your batch. The filters to be set are to narrow down the documents to be sent. You can set up to five filters, by clicking on the Assist Edit button on each Field No.:
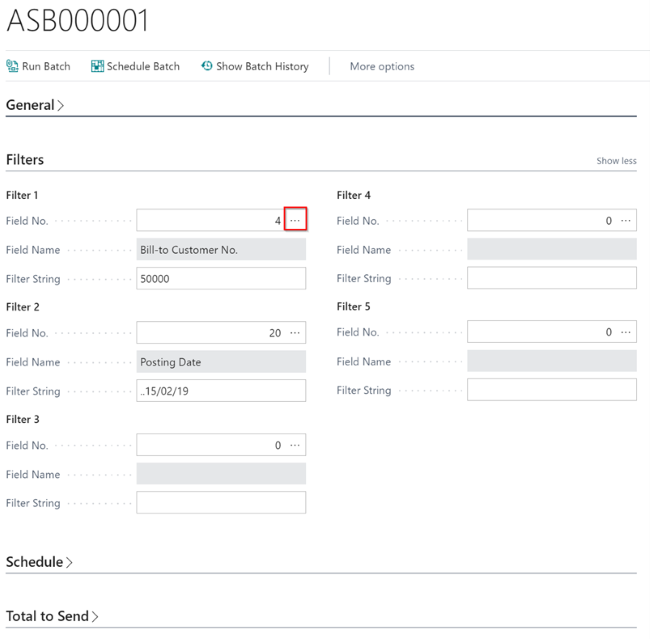
Figure 4 | Filters FastTab
A new dialogue window will open with all available Astral Send Fields that you can filter on. Select a field (1) that you want to filter on and click on “OK” (2):
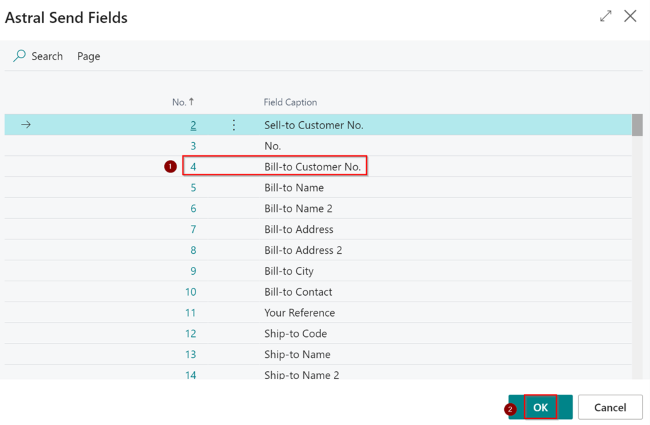
Figure 5 | Astral Send Fields
Now the batch is set up, you can see a list of the documents that have been selected using the filter(s) entered. In the tab at the bottom of the page, in the section called Total to Send, click on the number in the Total to Send field:
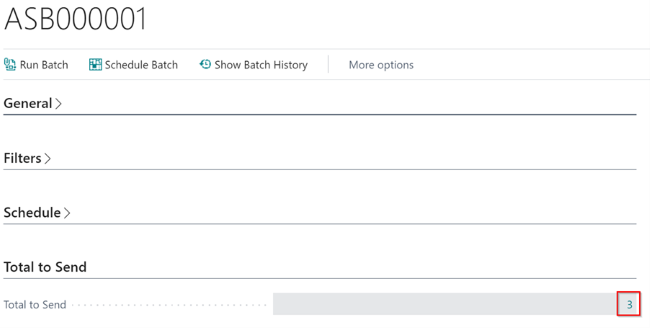
Figure 6 | Total to Send FastTab
This will show a list of all the documents that will be sent when you run the batch:
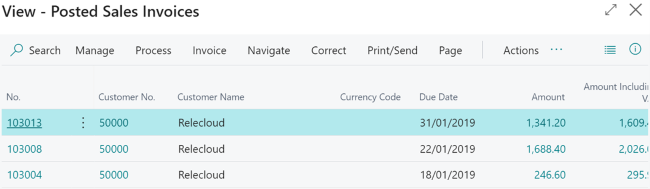
Figure 7 | Posted Sales Invoices
To schedule the document batch, select the “Schedule Batch” activity in the ribbon on the Astral Send Document Batch card:
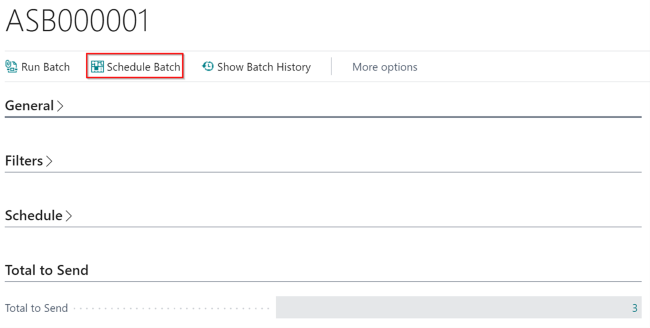
Figure 8 | Schedule Batch
A new dialogue window will open where you specify when you want to send the documents. Enter the “Scheduled Date” (1), “Scheduled Time” (2) and click on “OK” (3):
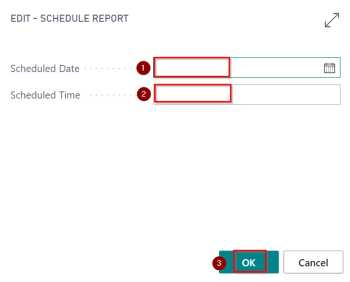
Figure 9 | Schedule Report
A confirmation window will open, click on “OK”:
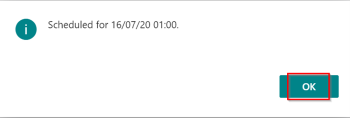
Figure 10 | Confirmation Message