Astral Pay - Help:
Watch the Video
Search for ‘Permission Sets’ and click on Permission Sets from the options.
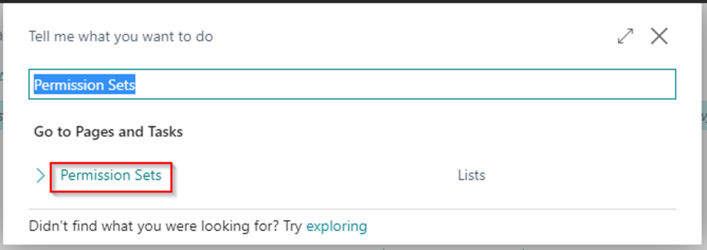
Figure 1 | Search Permission Sets
On the Permission Sets page, the ‘A365AP ASTRAL PAY’ Permission Set is included, which you can use 'as is' to give full permission to the Astral Pay functionality or you can use it as a reference for creating your own permission sets.

Figure 2 | Permission Sets Page
If you select the 'A365AP ASTRAL PAY' permission set and then click on 'Permissions' in the ribbon, you can see the permissions included in the Astral Pay permission set (see figure 3 and 4).

Figure 3 | Permissions
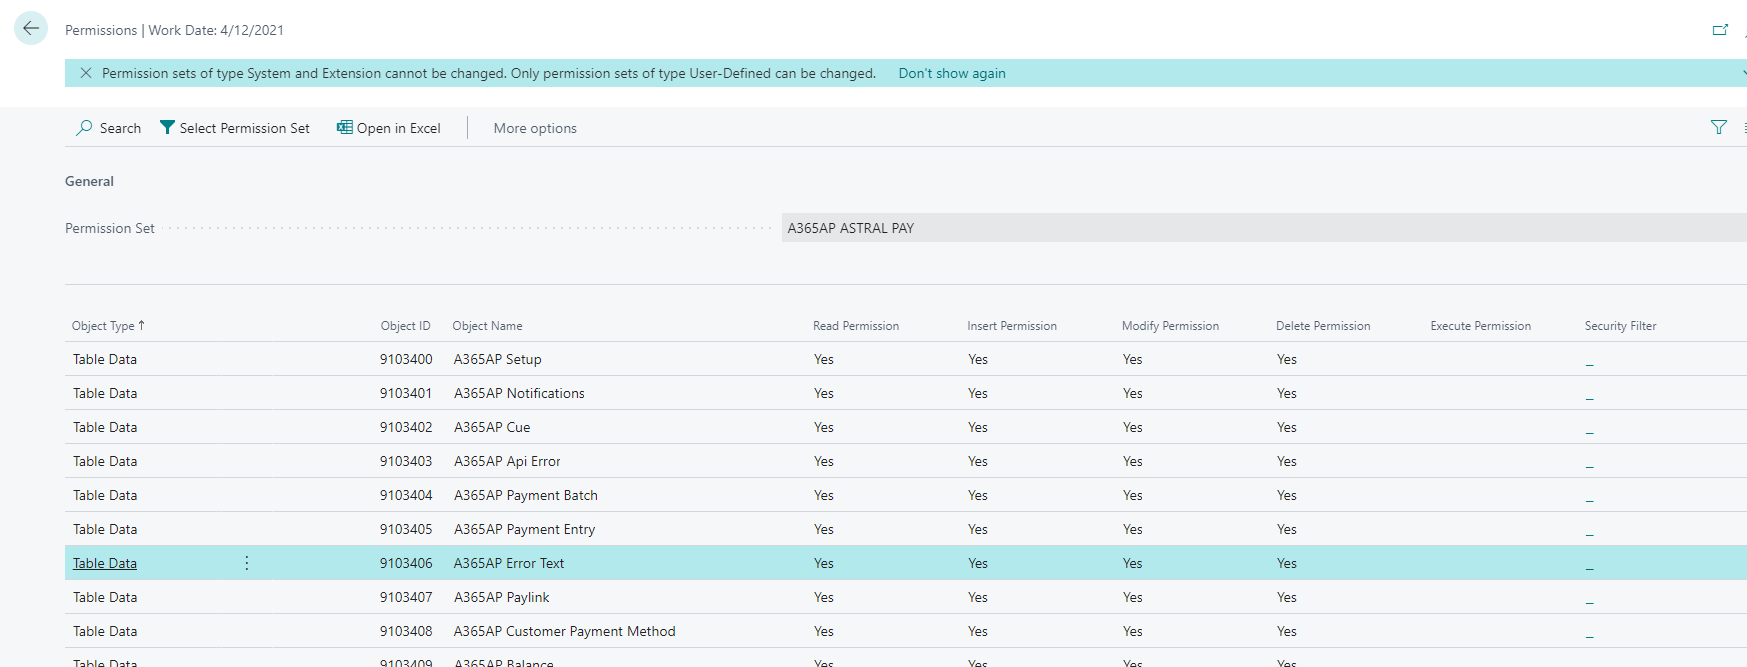
Figure 4 | Astral Pay Permissions
To add the permission, go to 'Users'.

Figure 5 | Search Users
Select the User in the User list, then click on 'Edit'.
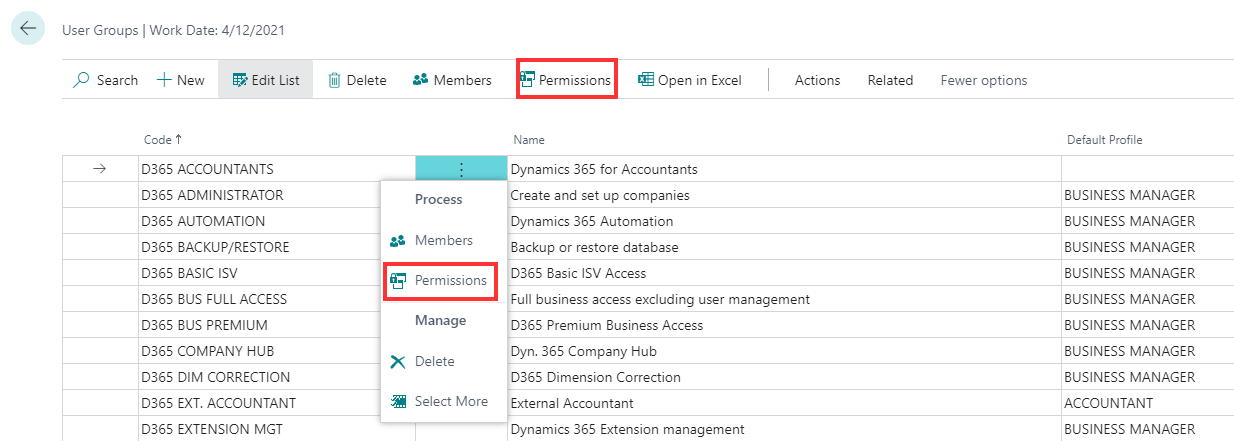
Figure 6 | Search Users
On the User Card, go to the 'User Permission Sets' FastTab, click on the three dots in a new line, which will open the Permission Set Lookup page, now select the ‘A365AP ASTRAL PAY’ permission set to add to this user.
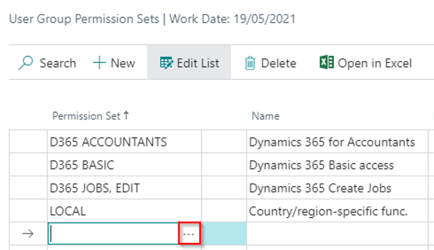
Figure 7 | User Card Permissions
This user can now use Astral Pay functionality.
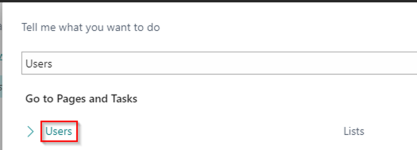
Figure 8 | User Permission Sets